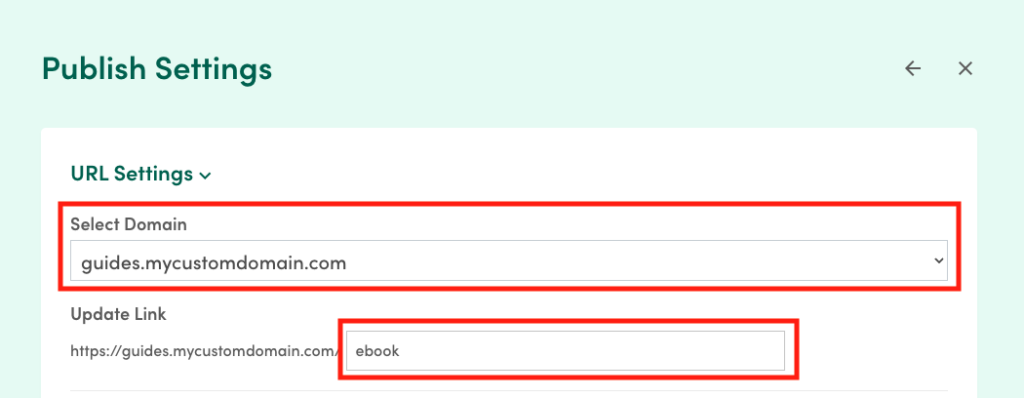
To publish the Smart PDF of your own domain, select the custom domain added in your account settings and update the link to a memorable URL, as seen below.
The following options are all methods for using your lead magnet to collect email addresses.
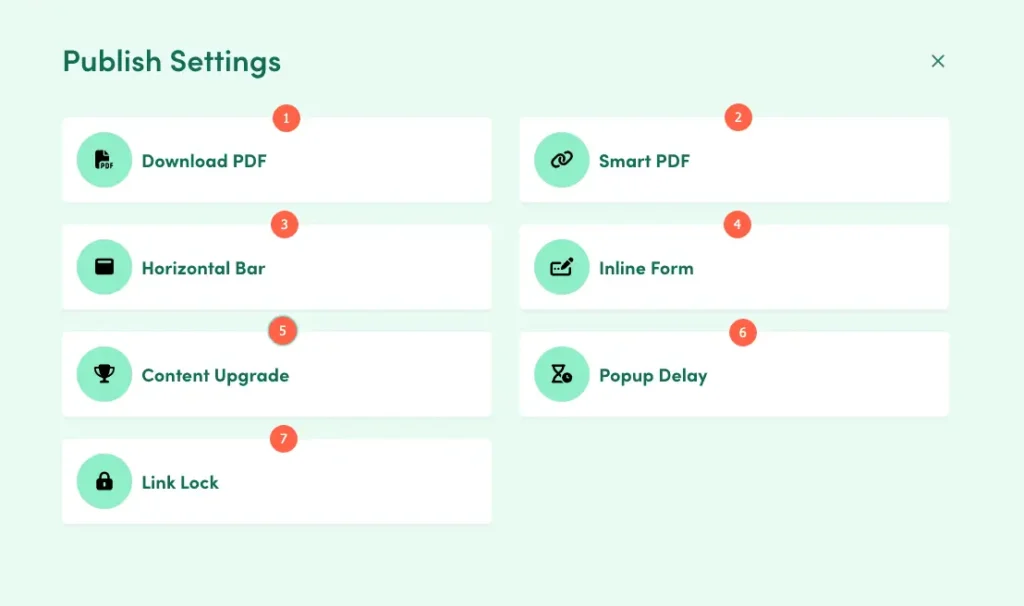
3. Horizontal Bar
The Horizontal bar is an eye-catching bar that can be pinned to the top or bottom of the browser window.
4. Inline Form
An inline form is seamlessly embedded within the content of the web page, eliminating the need for popups.
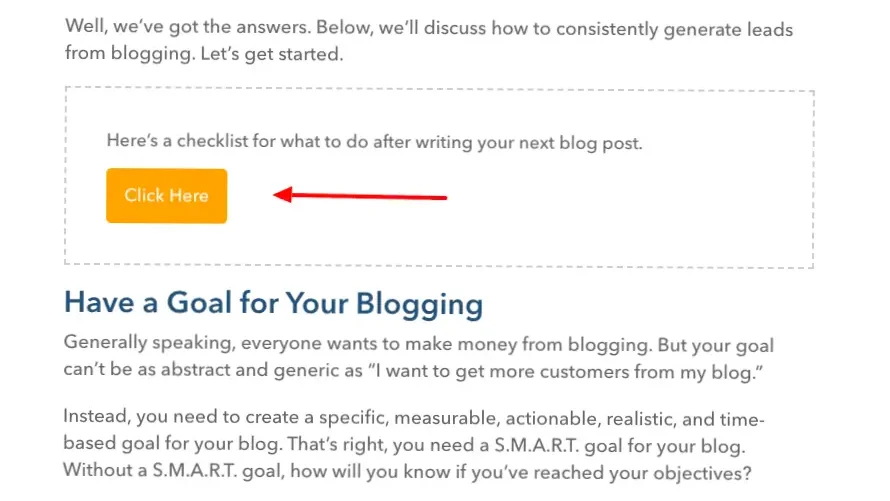
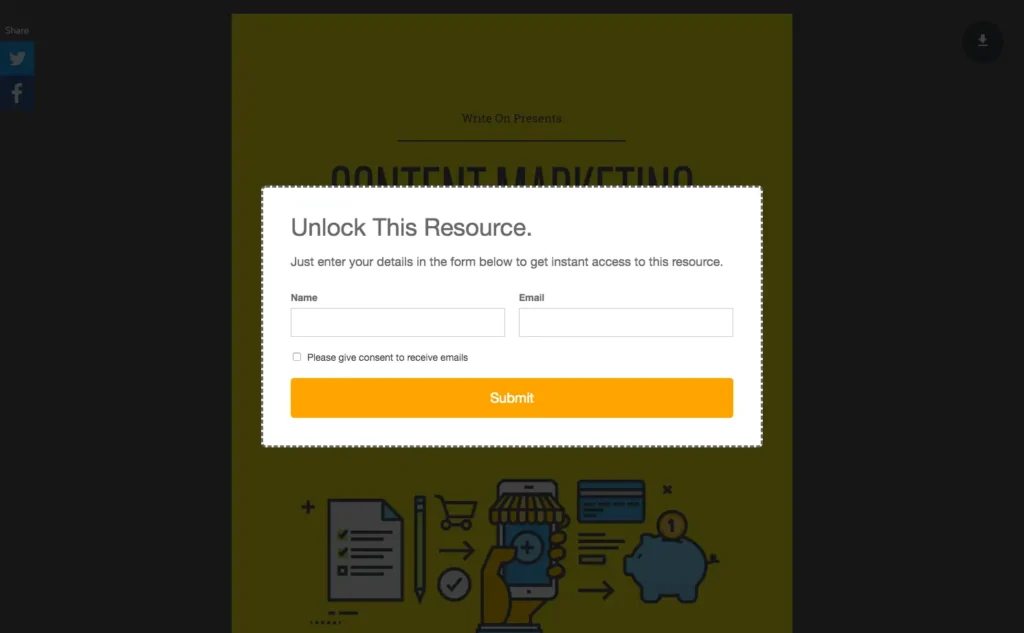
5. Content Upgrade
With the content upgrade, your call-to-action is embedded directly into the web page. When visitors click the button, a popup appears, and after opting in, they’ll receive the lead magnet via email.
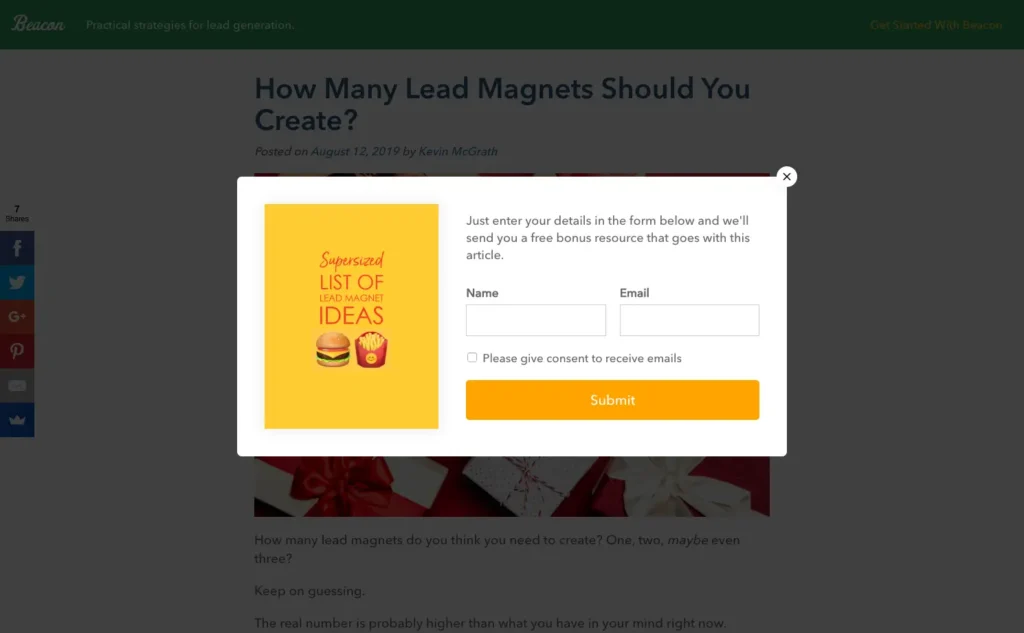
6. Popup Delay
The popup form will automatically appear once the user has either scrolled down the page, or spent a set amount of time on the page.
7. Link Lock
Share your lead magnet with a single link. People will have to enter their email address before they can read the document.
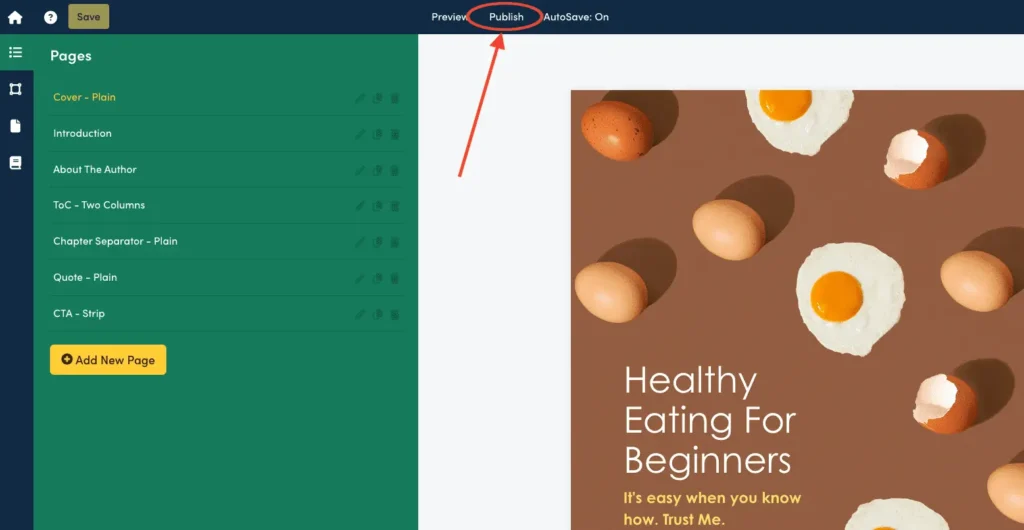
You’re ready to log into Beacon and publish your content to start generating leads.
Mobile Optimisation Smart PDFs are automatically optimised for mobile devices like smartphones and tablets. This means that your content will always be comfortably readable for people no matter what device they are using.
Analytics When you share the Smart PDF version of your publication, Beacon can record various statistics about how people interact with your content. Including, time spent reading, type of device used and the source of any inbound links.
Multimedia Friendly Because Smart PDFs use web technology you can embed multimedia elements like video, audio or animated GIFs. These formats will all play directly in the document so your readers will not have to visit an external site to access them.
Faster Load Times Smart PDFs will have a smaller file size than a traditional PDF so will load faster for your readers.